Testing & Exporting Your Game
You've built scenes, placed objects, and wired puzzles. Now it's time to get your game out the door. This tutorial covers how to test your game as a player would experience it, how the save and auto-save system works, and all your export options — from a self-contained ZIP to a single shareable HTML file.
What You'll Learn
- Use the Test button and test player
- Navigate and play in test mode
- Save manually and understand auto-save
- Use all Export dialog options
- Embed your game in a website with an iframe
- Publish your game to the EscapeMaker portal
The Test Button
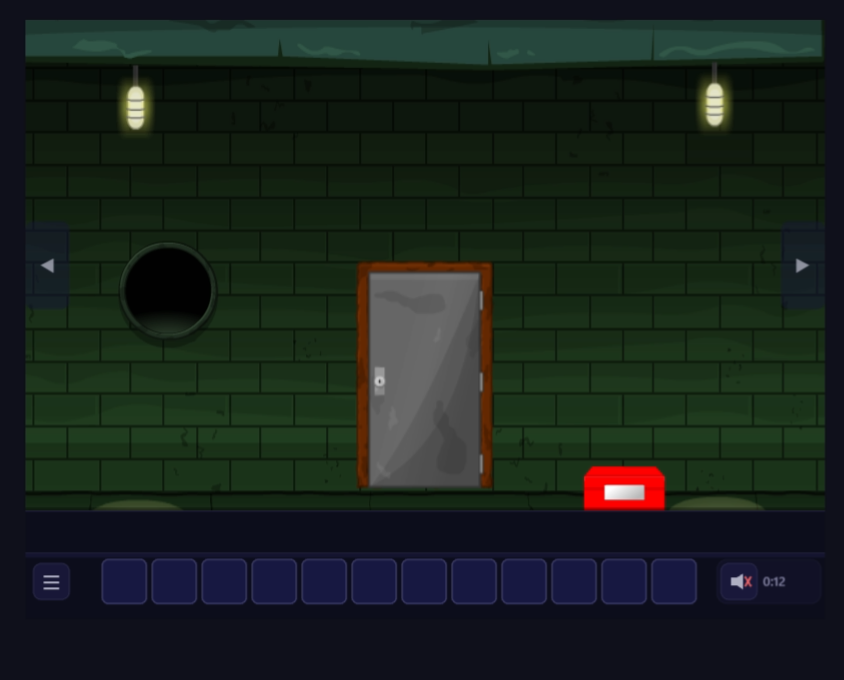
Click Test in the toolbar — or press F5 — at any point while editing your game. EscapeMaker opens your game in a new browser tab using the built-in player engine. The game starts from the Start Scene you've designated in Game Settings (by default the first scene you created).
The test build includes all changes made since the last time you saved — you do not need to save before testing. Unsaved changes are present in the test build.
What the Test Build Is
- It uses the same Pixi.js player engine that exported games use — it is not a preview simulation.
- All events, puzzles, inventory, and navigation work exactly as they will in the final published game.
- The inventory bar, navigation arrows, and puzzle overlays are fully functional.
- If a save state exists from a previous test session, the player will be asked if they want to continue from it or start fresh.
Close the test tab when you're done to return to the editor. Closing the tab does not affect your editor state.
Navigating in Test Mode
The test player is the full game experience. Use it exactly as a first-time player would:
- Click navigation arrows at the screen edges to move between scenes.
- Click interactive objects — if they trigger events, those events fire.
- Click the inventory bar at the bottom to open your collected items.
- Click an inventory item to hold it, then click a scene object to use it on that object.
- Puzzle overlays open, accept input, and close when solved.
If something doesn't work, make a note of the exact step that failed and return to the editor to fix it. Common things to check:
| Problem | Where to Look |
|---|---|
| Can't click an object | Property Panel → Interactive must be ON |
| Event doesn't fire | Event Panel → check trigger type and target name match exactly |
| Scene navigation arrow missing | Navigation Panel → that direction's dropdown is set to "None" |
| Puzzle doesn't open | Check the "Open Puzzle" action names the right puzzle |
| Inventory item not showing | The "Add Item to Inventory" action may not be firing — check conditions |
The Save Button
Click Save in the toolbar (or press Ctrl+S) to save your game to the server. A brief confirmation toast appears in the corner.
Auto-Save
The editor also auto-saves to localStorage (in your browser) on every meaningful change — adding an object, moving a sprite, updating an event, and so on. Auto-save is a safety net: it does not replace the server save, and it does not share across devices or browsers.
If your browser crashes or the tab is closed accidentally before you save to the server, the next time you open the editor it will detect the newer auto-save and ask:
The Export Dialog
Click Export in the toolbar to open the Export dialog. This is where you package your game to distribute outside the EscapeMaker platform.
Export as ZIP
Downloads a folder as a .zip file containing index.html plus all asset files (images, audio, etc.) in their correct relative paths. Unzip and open index.html in any modern browser to play offline. This is the best format for hosting on your own web server.
Standalone HTML
Downloads a single .html file with all assets embedded as base64 data URIs inside the file. No separate folder or asset files needed. The file is larger than the ZIP version, but it's trivially easy to share — email it, drop it in Google Drive, attach it to a forum post. One file, works anywhere.
Domain Lock
Optionally restrict the exported game so it only runs when hosted on specific domains. Enter a comma-separated list of allowed domains (e.g. mygame.com, mygame.net). If someone opens the file on a different domain, the game shows a "not authorized" message instead of loading. Useful for protecting commercial games you're selling or distributing under license.

Embedding in a Website
To embed your game inside a page on your own website, export as ZIP, upload the unzipped folder to your web server, and use an <iframe> tag on your page:
<iframe
  src="your-game/index.html"
  width="960"
  height="600"
  frameborder="0"
  allow="autoplay"
></iframe>- Set width and height to match your game's canvas dimensions (found in Game Settings). The default canvas is 960×600.
- The game canvas scales itself to fit the iframe, so the iframe can be smaller — the game will letterbox or pillarbox as needed.
- Use
allow="autoplay"on the iframe if your game plays audio on load — some browsers require this attribute for audio to work inside iframes. - Make sure all files from the ZIP (images, audio,
index.html) are in the same folder on your server with their relative paths preserved.
aspect-ratio: 960 / 600 with width: 100% on the iframe to make it scale fluidly on different screen sizes.Publishing to the Portal
Click Publish in the toolbar to publish your game directly to the EscapeMaker portal — the public game directory at EscapeMaker.io. Anyone can then find and play it without any hosting setup on your part.
Every plan publishes to the Portal; the free plan publishes one game. Fill in the publish form:
| Field | Notes |
|---|---|
| Game Title | Shown in the portal listing. Keep it short and evocative. |
| Description | 1–3 sentence summary shown on the game's portal page. |
| Category | e.g. Horror, Mystery, Casual, Kids. Used for portal filtering. |
| Thumbnail | A square or 16:9 image used as the game card preview. Recommended 600×400px. |
Once submitted, the game enters a brief review queue (typically under 24 hours). After approval it appears in the portal and receives a permanent URL you can share.
.html file, and double-click it. It should open directly in your browser and play from start to finish without any server needed.