Assets & the Global Library
- Upload images and sounds to your game
- Organize assets with categories and tags
- Navigate the Asset Panel workflow
- Understand the Global Library vs. per-game assets
- Add library assets to your current game
- View asset details, dimensions, and usages
Per-Game Assets vs. the Global Library
Every game has its own asset store containing the images and sounds you have uploaded for that project. These assets are private to that game and are not accessible from other projects.
The Global Library is a shared pool of images and sounds available to all your games — backgrounds, item icons, UI elements, and anything else you reuse across projects. Upload something to the library once and you never need to upload the same file again. When you start a new game, everything you have ever saved to the library is ready and waiting.
Think of per-game assets as your project folder, and the Global Library as your personal asset bank.
The Asset Panel
Open the Asset Panel by clicking the Asset tab in the left panel. It is divided into two sections: Images and Sounds.
- Click any thumbnail to preview the asset at full size.
- The panel displays the asset's name, dimensions (for images), and file size.
- Click the edit icon (pencil) next to an asset to rename it or change its category.
- Click the trash icon to delete an asset. If the asset is currently used by any object or scene, a warning appears — you must remove all usages before deletion is permitted.
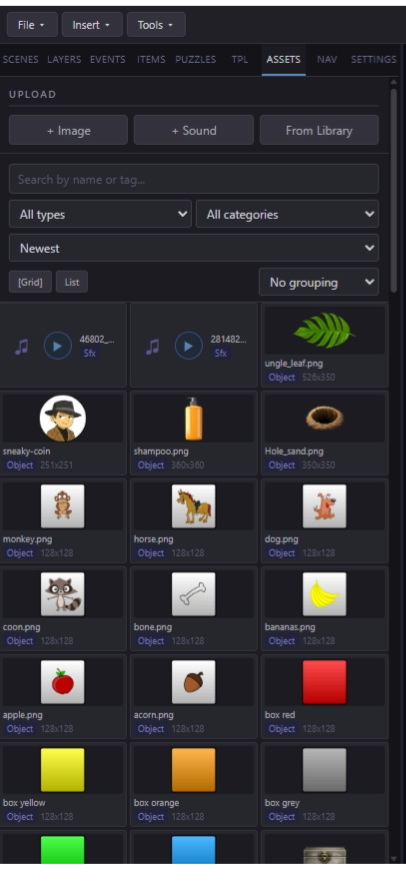
The Asset Panel with category filter — switch between Backgrounds, Objects, Items, and more.
Uploading Images
In the Asset Panel, click "Upload Image". A file picker opens — drag and drop files onto it or click to browse.
- Supported formats: PNG, JPG, GIF, WebP
- Max file size: 5 MB per file
- You can select and upload multiple files at once
- Uploaded assets appear in the panel immediately
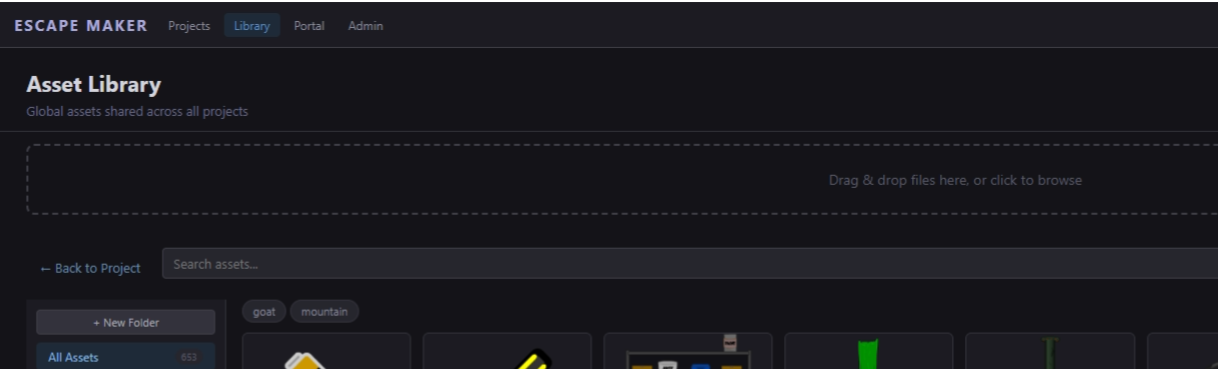
Drag multiple files at once or click to browse — PNG, JPG, GIF, WebP supported.
Uploading Sounds
Click "Upload Sound" in the Asset Panel to add audio files.
- Supported formats: MP3, OGG, WAV
- The system auto-compresses audio on upload to reduce final game file size
- Give sounds descriptive, lowercase names that make their purpose obvious at a glance
door_creak.mp3, puzzle_win.mp3, ambience_forest.mp3, item_pickup.mp3
Categories
The Asset Panel includes a Category dropdown that filters the displayed assets:
- All — show every asset
- Backgrounds — full-scene images (fills the room canvas)
- Objects — interactive or decorative sprites placed on the scene
- Items — inventory icons shown in the inventory bar
- UI — buttons, overlays, HUD elements
- Sounds — audio-only view
When uploading, assign a category immediately. Well-categorized assets are much easier to find in large projects.
Tags
Each asset can have comma-separated tags added via the edit dialog. For example, a creaky wooden door image might have the tags: wooden, door, dark, interactive.
Use the search bar at the top of the Asset Panel to filter assets by name or tag. Tags are especially useful when you have dozens of assets and need to find a specific style quickly.
dark, stone, medieval vs. bright, modern, office — so you can quickly find assets that match a scene's mood.
The Global Library
Access the Global Library via Toolbar → Library, or click the Library button inside the new-game wizard.
The Library browser shows all shared assets across all your games. To use one:
- Browse or search the Library for the asset you want
- Click the asset to preview it
- Click "Add to Game" — this copies a snapshot of the asset into the current game's asset store
Asset Details
Click any image in the Asset Panel to open its detail view. This shows:
- Full dimensions (width × height in pixels)
- File size after compression
- Upload date
- A list of scenes and objects that reference this asset
Click the "Find Usages" button to get a complete list of every object and scene that uses this asset. This helps you track down unused assets and safely clean up your project.
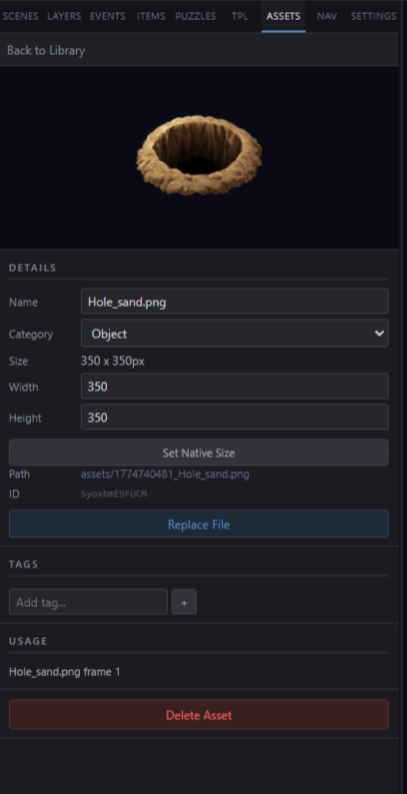
Asset details — see where an image is used and find orphaned assets.
Best Practices
| Rule | Why |
|---|---|
| Name assets clearly | bg_kitchen_day.jpg not image1.jpg |
| Keep backgrounds ≤ 1920×1080 | Reduces game load time on slow connections |
| Use 64×64 or 128×128 for item icons | Fits cleanly inside inventory bar slots |
| Upload sounds as MP3 | Best browser compatibility across all devices |
| Use the Library for reused assets | Saves upload time on every new game you create |