Dialogue, Narration & Story Text
- Use the Show Dialogue action to display a text box
- Set speaker name and portrait image
- Chain multiple dialogue lines in sequence
- Place static Text objects on the canvas
- Create Button objects for clickable text choices
The Show Dialogue Action
In any event's action list, click Add Action and select "Show Dialogue". The action has three fields:
- Speaker Name — Optional. A name displayed above the text box (e.g. Detective, Radio, Narrator). Leave blank for pure narration.
- Portrait Image — Optional. A character image shown to the left of the text box. Select from your game assets.
- Text — The dialogue line itself. Supports line breaks using
\n.
The dialogue box appears at the bottom of the screen. The player clicks anywhere on the screen to dismiss it and continue.
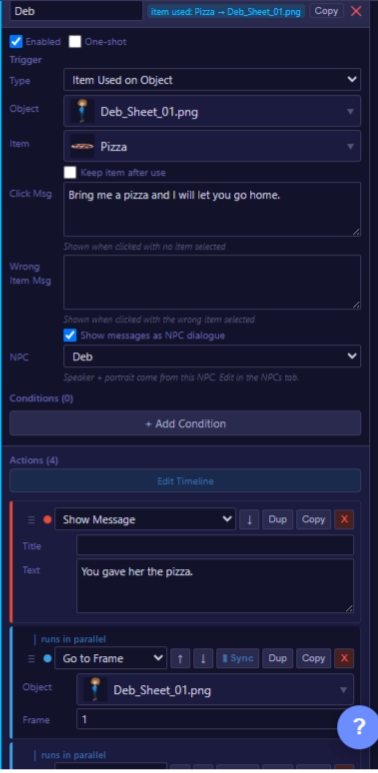
The Show Dialogue action — fill in speaker, portrait, and text.
Chaining Multiple Lines
Add multiple "Show Dialogue" actions one after another in the same event's action list. They queue automatically — the first line displays, the player clicks to dismiss it, the second line appears, and so on.
To auto-advance a line after a delay instead of waiting for a click, insert a "Wait" action between two dialogue actions and set a duration in milliseconds.
Using Speaker Names Effectively
The Speaker Name field controls how the text box is presented:
- No name (blank) — Pure narration. The text box has no header. Use this for the voice of the room or ambient story information the player "just knows."
- With a name — A colored header bar appears above the text box displaying the speaker's name. Use this whenever a specific character or object is "speaking."
Common speaker names for escape rooms: You, Voice, Radio, Journal Entry, System, Dr. Harlow.
Portrait Images
Set a Portrait Image to show a character's face or icon alongside the dialogue. Portraits are pulled from your game's asset store.
- Recommended portrait size: 128×128 px or 256×256 px
- Use transparent PNG so the portrait blends cleanly with the dialogue box background
- The portrait displays to the left of the text inside the dialogue box
Portraits are optional — they add personality but are not required for narration-only games.
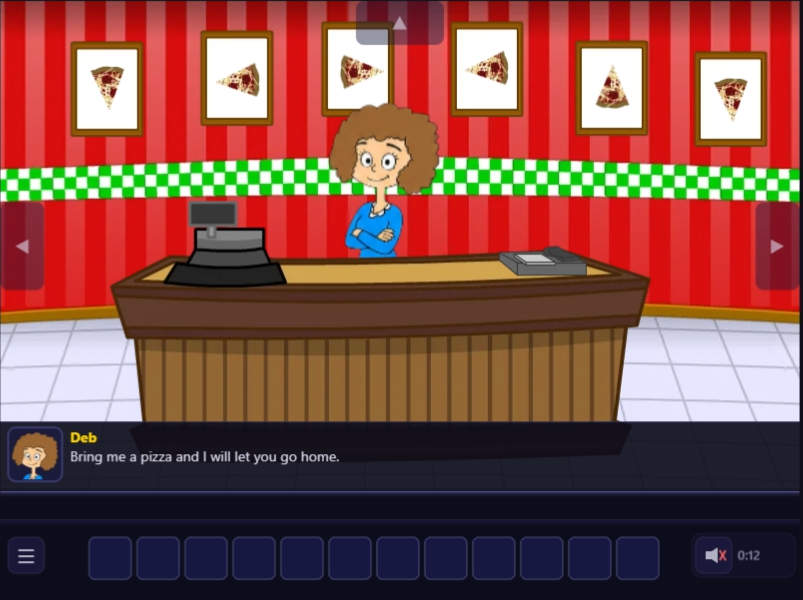
The dialogue box as seen by the player — speaker name, portrait, and text.
Static Text Objects
Use Insert → Text to place a text object directly on the scene canvas. Unlike dialogue boxes, text objects are always visible while the player is in that scene — no click required to see them.
Text object properties:
- Font family, size, and weight (bold/italic)
- Text color and alignment (left, center, right)
- Max-width (wrap text to a certain pixel width)
Use text objects for: room signs, labels on objects, note text visible in the scene, clue codes written on a wall.
Button Objects
Use Insert → Button to create a clickable button with a text label placed on the canvas. Buttons are interactive by default and fire their events when the player clicks them.
Button style properties:
- Background color and hover color
- Text label, font, and text color
- Border, border-radius (for rounded corners), and padding
Use buttons for: obvious interaction prompts ("Examine", "Pick Up", "Read"), narrative choice displays, in-scene labels that should look pressable to guide new players.
Dev Notes
The Dev Notes panel (found in the right panel as a separate tab) is editor-only text that is never included in the published game. Players never see it.
Use Dev Notes to record:
- The intended puzzle solution for a room
- Placeholder dialogue you plan to revise
- Story continuity notes and lore references
- Reminders for yourself: "Replace this background with final art"
- "You wake up in a strange room."
- "The door is locked."
- "You'll need to find a way out."